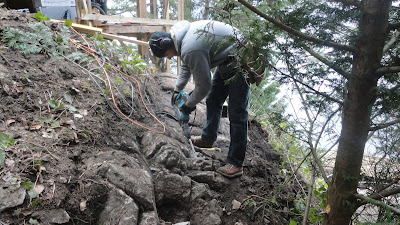
This morning our concrete had set up and we could start to lay down the beams for the wall.
We are using a 10" circular saw to cut the 6x6 beams. It's a little slower than using a chainsaw but the resulting cut looks a lot better.
After the cuts we have to paint the ends with a preservative to protect the freshly cut wood.
Once the pieces are placed into position, we level and brace then until we can pour concrete under then ends to fully support them.
In some spots in order to run the beams through at the correct height we needed to jackhammer bedrock out of the way. A lot of rock had to be taken out of this section so that the 12' beam could land on both bearing points without having to be cut.
The first row of beams are laid out and temporarily supported.
We got each piece levelled out and now its time to start filling in the spots underneath the first row to make sure all the soil wont pour out and to make sure the rest of the wall is bearing down directly onto the ground.
In one case a 45 degree mitre had so be cut along a scribed line so that the piece would fit properly.
Here is another shot of the mitred cut we made.
To make sure the wall doesn't slide down the side of the cliff we are drilling 1 1/2" holes through the beams at certain locations.
When the walls are stacked higher we will have a blasting company come and drill holes deep into the bedrock. We will then grout epoxy coated rebar dowels into the rock to make sure the walls don't go anywhere.
We then started stacking more 6x6's on top of the first row.
To fasten the beams together we are using 10" galvanized nails. To make it easier we are pre drilling holes for the nails with a 1/4" auger bit.
This is our scribed piece from earlier and I think it looks pretty sweet ass.
We are using a large angle drill to make our 1 1/2" holes through the 6x6.
After we had placed as many beams as we could for now we mixed some post haste concrete and packed it underneath the beams to make sure we had good bearing. Again we covered it with insulation and plastic over night to keep it warm.
We had tacked some pieces of plywood on the bottom of the beams so that the concrete we packed underneath wouldn't slide down the hill.
We have to measure and transfer the locations of the original holes so that they line up when we stack the new pieces on top.
At the end of today this is what things are looking like.


No comments:
Post a Comment